“야 배포 좀 해줘.”
하루에 몇 번씩 듣던 말이다. 개발 끝나면 서버 접속해서 git pull, npm run build, pm2 restart. 배포할 때마다 5분씩 날렸다.
GitHub Actions를 도입하고 나서, 이제 push만 하면 알아서 배포된다.
CI/CD가 필요했던 이유
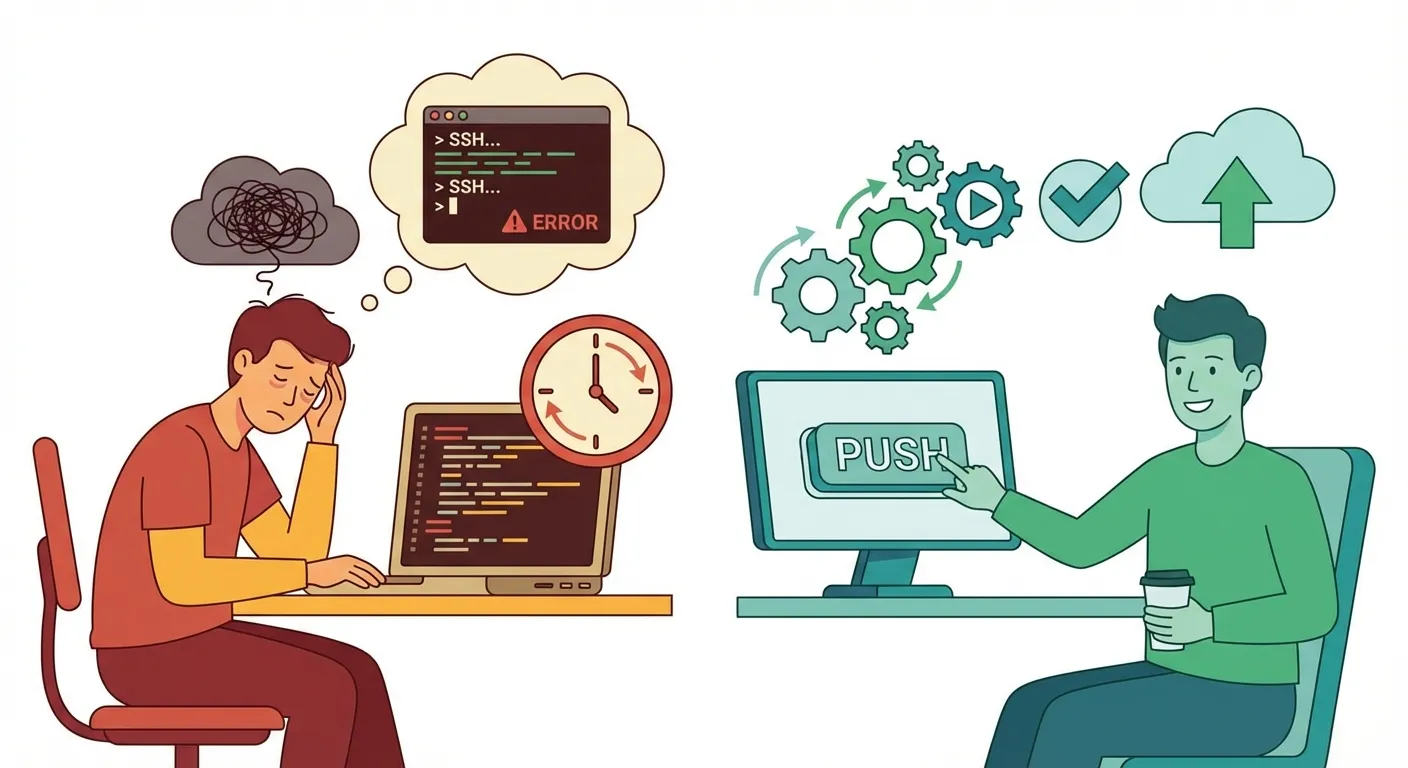
Before: 수동 배포
# 매번 반복하던 것들
ssh user@server
cd /var/www/app
git pull origin main
npm install
npm run build
pm2 restart app
문제점:
- 시간 낭비: 하루 5번 배포 × 5분 = 25분
- 휴먼 에러: 실수로 다른 브랜치 pull
- 병목: 배포할 줄 아는 사람만 배포
- 야근 유발: “퇴근 전에 이것만 배포해주세요”
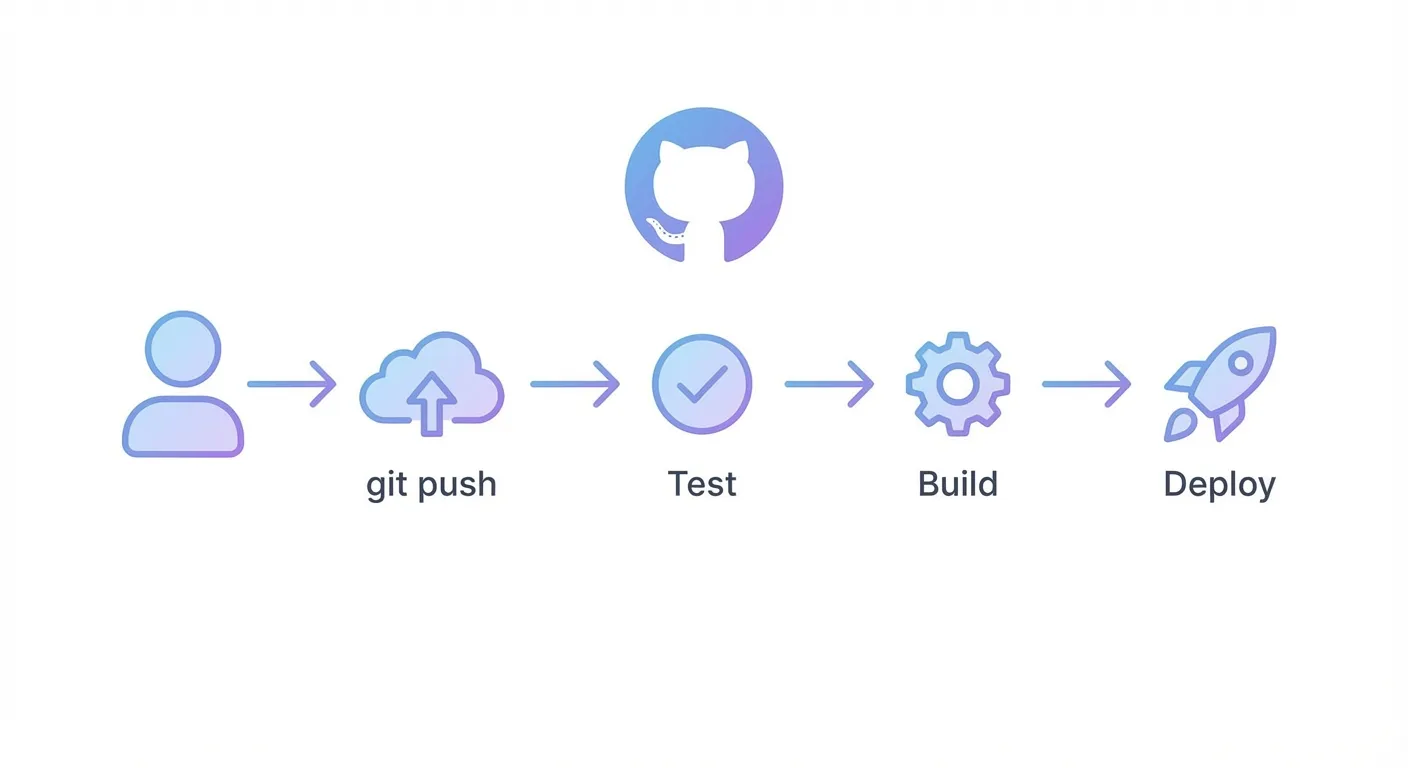
After: 자동 배포
push to main → 테스트 → 빌드 → 배포 (자동)push만 하면 끝. 집에서도, 카페에서도, 폰으로도 배포 가능.
기본 워크플로우 구조
# .github/workflows/deploy.yml
name: Deploy

on:
  push:
    branches: [main]
  pull_request:
    branches: [main]

jobs:
  test:
    runs-on: ubuntu-latest
    steps:
      - uses: actions/checkout@v3
      - uses: actions/setup-node@v3
        with:
          node-version: '18'
      - run: npm ci
      - run: npm test

  deploy:
    needs: test
    runs-on: ubuntu-latest
    if: github.ref == 'refs/heads/main'
    steps:
      - name: Deploy to server
        run: |
          # 배포 스크립트
핵심 개념:
- on: 언제 실행할지 (push, PR, schedule 등)
- jobs: 실행할 작업들
- needs: 의존성 (test 통과해야 deploy 실행)
- steps: 각 작업의 단계들
NestJS 백엔드 CI/CD
테스트 & 빌드
name: Backend CI/CD

on:
  push:
    branches: [main, develop]
  pull_request:
    branches: [main]

jobs:
  test:
    runs-on: ubuntu-latest

    services:
      mysql:
        image: mysql:8.0
        env:
          MYSQL_ROOT_PASSWORD: test
          MYSQL_DATABASE: test_db
        ports:
          - 3306:3306
        options: >-
          --health-cmd="mysqladmin ping"
          --health-interval=10s
          --health-timeout=5s
          --health-retries=3

    steps:
      - uses: actions/checkout@v3

      - name: Setup Node.js
        uses: actions/setup-node@v3
        with:
          node-version: '18'
          cache: 'npm'

      - name: Install dependencies
        run: npm ci

      - name: Run tests
        run: npm test
        env:
          DB_HOST: localhost
          DB_PORT: 3306
          DB_USERNAME: root
          DB_PASSWORD: test
          DB_DATABASE: test_db

      - name: Build
        run: npm run build
MySQL 서비스를 띄워서 실제 DB 연결 테스트까지 진행.
SSH 배포
  deploy:
    needs: test
    runs-on: ubuntu-latest
    if: github.ref == 'refs/heads/main'

    steps:
      - name: Deploy via SSH
        uses: appleboy/ssh-action@master
        with:
          host: ${{ secrets.SERVER_HOST }}
          username: ${{ secrets.SERVER_USER }}
          key: ${{ secrets.SSH_PRIVATE_KEY }}
          script: |
            cd /var/www/backend
            git pull origin main
            npm ci --production
            npm run build
            pm2 restart backend
Docker 배포
  deploy:
    needs: test
    runs-on: ubuntu-latest
    if: github.ref == 'refs/heads/main'

    steps:
      - uses: actions/checkout@v3

      - name: Login to Docker Hub
        uses: docker/login-action@v2
        with:
          username: ${{ secrets.DOCKER_USERNAME }}
          password: ${{ secrets.DOCKER_TOKEN }}

      - name: Build and push
        uses: docker/build-push-action@v4
        with:
          push: true
          tags: myapp/backend:latest

      - name: Deploy to server
        uses: appleboy/ssh-action@master
        with:
          host: ${{ secrets.SERVER_HOST }}
          username: ${{ secrets.SERVER_USER }}
          key: ${{ secrets.SSH_PRIVATE_KEY }}
          script: |
            docker pull myapp/backend:latest
            docker-compose up -d
Docker 이미지 빌드 → Docker Hub 푸시 → 서버에서 pull & restart.
Flutter 앱 CI/CD
Android 빌드
name: Android Build

on:
  push:
    branches: [main]
    tags:
      - 'v*'

jobs:
  build:
    runs-on: ubuntu-latest

    steps:
      - uses: actions/checkout@v3

      - name: Setup Java
        uses: actions/setup-java@v3
        with:
          distribution: 'zulu'
          java-version: '11'

      - name: Setup Flutter
        uses: subosito/flutter-action@v2
        with:
          flutter-version: '3.13.0'
          cache: true

      - name: Get dependencies
        run: flutter pub get

      - name: Run tests
        run: flutter test

      - name: Build APK
        run: flutter build apk --release

      - name: Build App Bundle
        run: flutter build appbundle --release

      - name: Upload APK
        uses: actions/upload-artifact@v3
        with:
          name: app-release
          path: build/app/outputs/flutter-apk/app-release.apk
iOS 빌드
name: iOS Build

on:
  push:
    branches: [main]

jobs:
  build:
    runs-on: macos-latest

    steps:
      - uses: actions/checkout@v3

      - name: Setup Flutter
        uses: subosito/flutter-action@v2
        with:
          flutter-version: '3.13.0'
          cache: true

      - name: Get dependencies
        run: flutter pub get

      - name: Build iOS
        run: flutter build ios --release --no-codesign

      # 실제 배포는 Fastlane 사용 권장
iOS는 인증서, 프로비저닝 프로파일 때문에 설정이 복잡하다. Fastlane 조합을 추천.
실전 팁
1. 캐시 활용
- name: Cache node modules
  uses: actions/cache@v3
  with:
    path: ~/.npm
    key: ${{ runner.os }}-node-${{ hashFiles('**/package-lock.json') }}
    restore-keys: |
      ${{ runner.os }}-node-
의존성 캐시로 빌드 시간 단축. npm ci가 2분 → 20초로.
2. 환경별 분기
deploy-staging:
  if: github.ref == 'refs/heads/develop'
  # staging 배포

deploy-production:
  if: github.ref == 'refs/heads/main'
  # production 배포
develop → staging, main → production 자동 배포.
3. Secrets 관리
env:
  DB_PASSWORD: ${{ secrets.DB_PASSWORD }}
  API_KEY: ${{ secrets.API_KEY }}
민감 정보는 GitHub Secrets에. 레포 Settings > Secrets에서 설정.
4. 슬랙 알림
- name: Slack Notification
  uses: 8398a7/action-slack@v3
  with:
    status: ${{ job.status }}
    fields: repo,message,commit,author
  env:
    SLACK_WEBHOOK_URL: ${{ secrets.SLACK_WEBHOOK }}
  if: always()
배포 성공/실패를 슬랙으로 알림. if: always()로 실패해도 알림.
5. PR 체크
on:
  pull_request:
    branches: [main]

jobs:
  lint:
    runs-on: ubuntu-latest
    steps:
      - uses: actions/checkout@v3
      - run: npm ci
      - run: npm run lint

  test:
    runs-on: ubuntu-latest
    steps:
      - uses: actions/checkout@v3
      - run: npm ci
      - run: npm test
PR에서 lint + test 통과해야 머지 가능하게 설정.
우리 팀 워크플로우
feature/* → develop → main
    ↓          ↓        ↓
PR체크 staging production- feature 브랜치에서 개발
- develop으로 PR → 자동 테스트
- 머지되면 staging 자동 배포
- 확인 후 main으로 PR
- 머지되면 production 자동 배포
수동 배포 제로. 코드 리뷰만 하면 된다.
비용
GitHub Actions는 public repo에서 무료다.
private repo도 월 2000분 무료. 우리 팀은 월 500분 정도 쓴다.
빌드 시간 줄이면 비용도 줄어든다:
- 캐시 활용
- 병렬 실행
- 필요한 것만 설치
마무리
GitHub Actions 도입 전후:
| Before | After |
|---|---|
| 배포 5분 | 배포 0분 (push만) |
| 서버 접속 필요 | 필요 없음 |
| 배포 담당자 필요 | 누구나 가능 |
| 테스트 건너뛰기 | 강제 테스트 |
| ”배포해주세요” | push하세요 |
CI/CD는 한번 세팅하면 계속 쓴다. 초기 투자 시간이 아깝지 않다.
Jenkins, GitLab CI 등 다른 도구도 있지만, GitHub 쓴다면 Actions가 가장 편하다. 별도 서버 필요 없고, YAML만 작성하면 된다.
다음 프로젝트에서는 처음부터 CI/CD 세팅하고 시작할 예정이다.
관련 포스트가 4개 있어요.
Unity·C++·PLC가 얽힌 10년 묵은 모니터링 시스템의 게이트웨이 서버를, 터미널만으로 무중단 이전한 실전 기록

AI 에이전트로 레거시 산업 시스템 서버를 옮겼다
Claude Code에서 AI 에이전트로, 개발자의 워크플로우가 어떻게 바뀌었는가
AI 비서에게 개발을 시켜봤다 - OpenClaw 실사용기
AI를 활용한 웹 스크래핑 자동화 서비스 구현 경험. 데이터 추출부터 실시간 UI 업데이트까지

AI 스크래퍼 서비스 개발기 - 웹 데이터 수집 자동화
Synology NAS에서 Docker를 활용해 개인 서비스들을 운영한 2년간의 경험