NestJS로 전환한 지 1년이 넘었다. 그 사이 회사에서 10개가 넘는 백엔드 프로젝트를 NestJS로 만들었다. 의료 서비스, 차량 관리, 방탈출 예약, 리사이클링 플랫폼까지 도메인도 다양했다.
이 글에서는 그 과정에서 배운 실전 패턴들을 정리해본다.
1. DTO 분리의 중요성
처음에는 하나의 DTO로 생성/수정/조회를 다 처리하려 했다. 실수였다.
// ❌ 처음의 실수
class UserDto {
  @IsOptional()
  id?: number;

  @IsString()
  name: string;

  @IsEmail()
  email: string;

  @IsOptional()
  @IsString()
  password?: string;
}
생성할 때는 password가 필수인데, 조회할 때는 있으면 안 된다. 수정할 때는 모든 필드가 선택적이어야 한다. 하나의 DTO로는 이걸 표현할 수 없다.
// ✅ 지금의 패턴
// create-user.dto.ts
class CreateUserDto {
  @IsString()
  name: string;

  @IsEmail()
  email: string;

  @IsString()
  @MinLength(8)
  password: string;
}

// update-user.dto.ts
class UpdateUserDto extends PartialType(
  OmitType(CreateUserDto, ['password'])
) {}

// user-response.dto.ts
class UserResponseDto {
  id: number;
  name: string;
  email: string;
  createdAt: Date;
}
파일이 늘어나지만, 의도가 명확해진다.
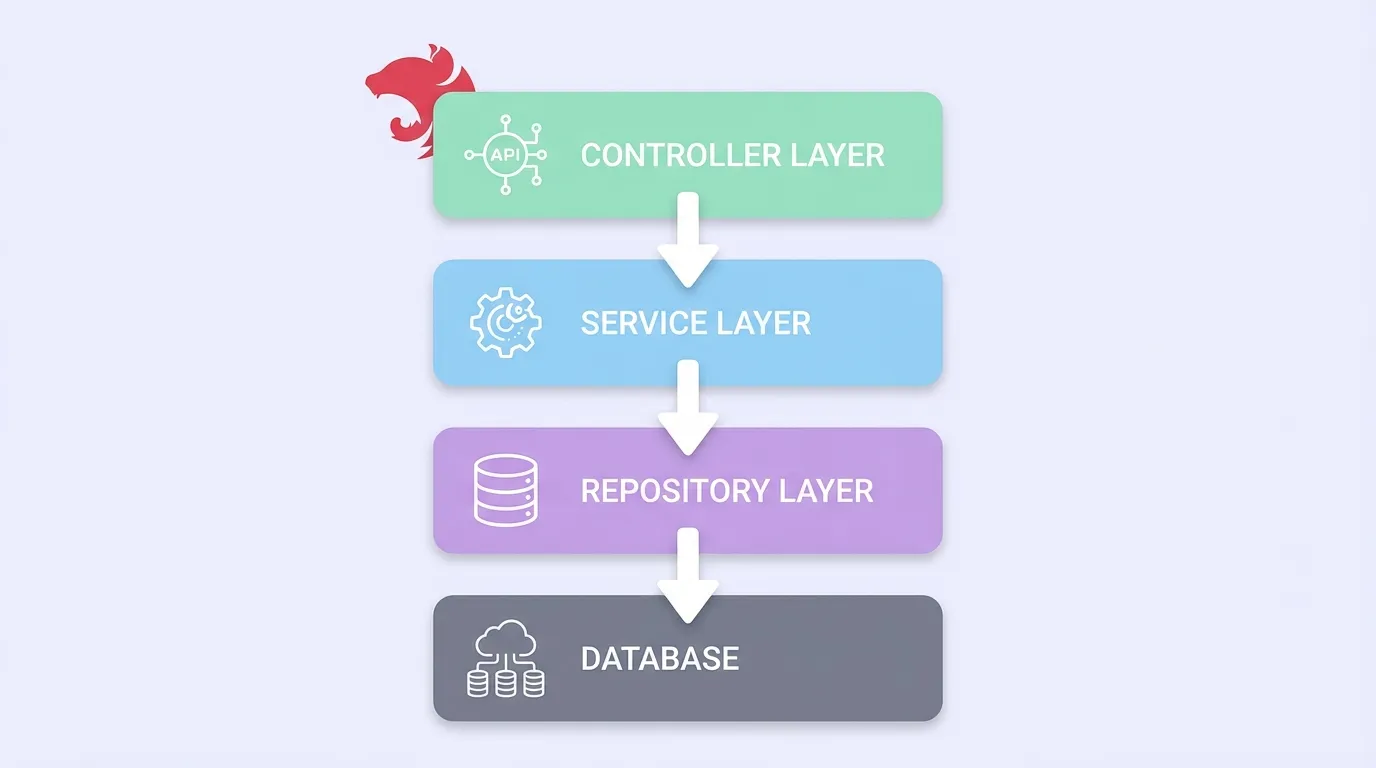
2. 서비스 레이어 분리
하나의 서비스가 너무 커지는 문제가 있었다. UserService가 1000줄이 넘어가면서 유지보수가 힘들어졌다.
// ❌ 비대해진 서비스
@Injectable()
export class UserService {
  async create() { /* ... */ }
  async findAll() { /* ... */ }
  async findOne() { /* ... */ }
  async update() { /* ... */ }
  async delete() { /* ... */ }
  async login() { /* ... */ }
  async logout() { /* ... */ }
  async refreshToken() { /* ... */ }
  async resetPassword() { /* ... */ }
  async sendVerificationEmail() { /* ... */ }
  async verifyEmail() { /* ... */ }
  // ... 50개 더
}
도메인별로 서비스를 분리했다.
// ✅ 분리된 서비스들
@Injectable()
export class UserService { /* CRUD만 */ }

@Injectable()
export class AuthService { /* 인증 관련만 */ }

@Injectable()
export class UserVerificationService { /* 이메일 인증만 */ }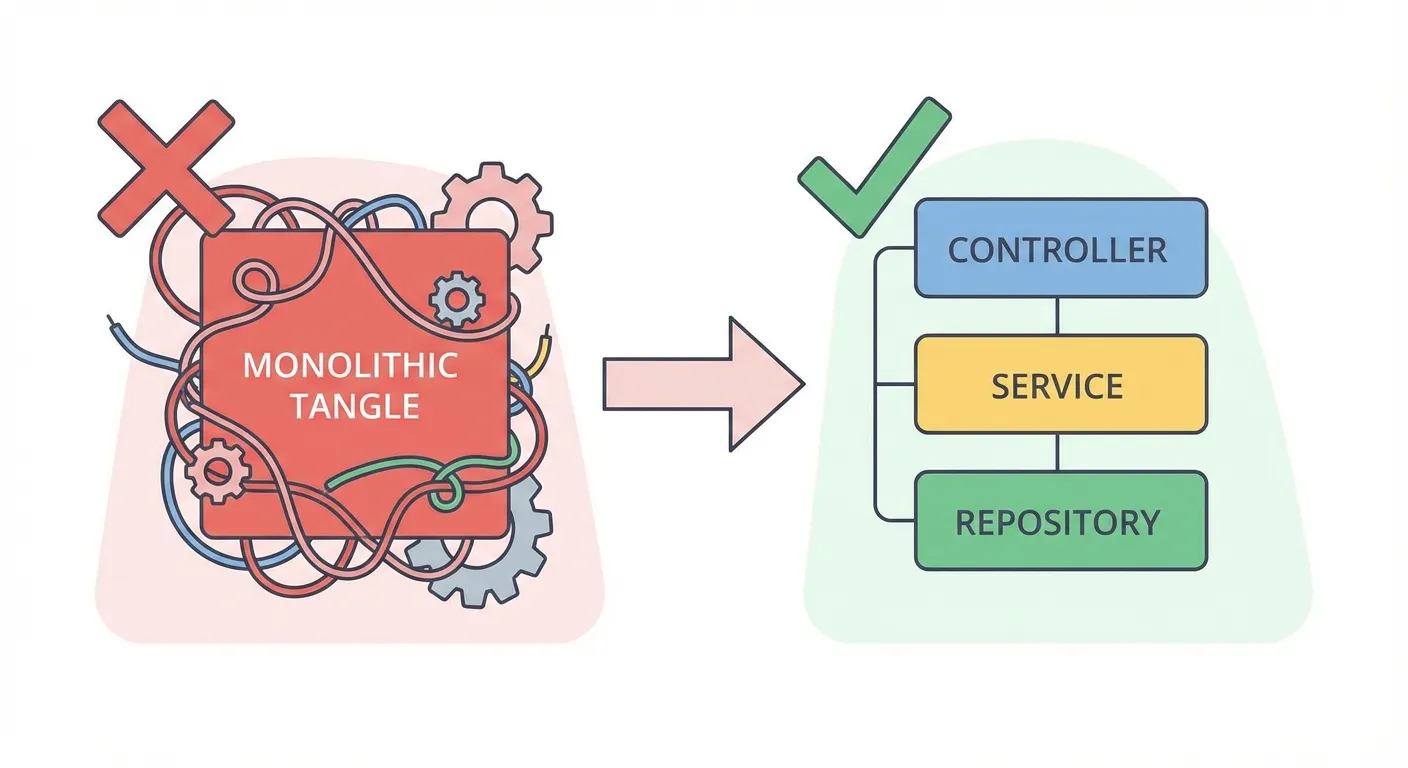
3. Repository 패턴 활용
TypeORM의 Repository를 그대로 서비스에서 쓰다가, 쿼리 로직이 서비스에 침범하는 문제가 생겼다.
// ❌ 서비스에 쿼리 로직이 섞임
@Injectable()
export class UserService {
  async findActiveUsers() {
    return this.userRepository
      .createQueryBuilder('user')
      .where('user.status = :status', { status: 'active' })
      .andWhere('user.deletedAt IS NULL')
      .leftJoinAndSelect('user.profile', 'profile')
      .orderBy('user.createdAt', 'DESC')
      .getMany();
  }
}
Custom Repository로 분리했다.
// ✅ Repository에 쿼리 로직 캡슐화
@Injectable()
export class UserRepository extends Repository<User> {
  constructor(private dataSource: DataSource) {
    super(User, dataSource.createEntityManager());
  }

  async findActiveUsers(): Promise<User[]> {
    return this.createQueryBuilder('user')
      .where('user.status = :status', { status: 'active' })
      .andWhere('user.deletedAt IS NULL')
      .leftJoinAndSelect('user.profile', 'profile')
      .orderBy('user.createdAt', 'DESC')
      .getMany();
  }
}

// 서비스는 깔끔해짐
@Injectable()
export class UserService {
  constructor(private userRepository: UserRepository) {}

  async findActiveUsers() {
    return this.userRepository.findActiveUsers();
  }
}
4. 공통 응답 포맷
프로젝트마다 응답 포맷이 달라서 프론트엔드 개발자가 혼란스러워했다.
// 공통 응답 인터셉터
@Injectable()
export class TransformInterceptor<T> implements NestInterceptor<T, Response<T>> {
  intercept(context: ExecutionContext, next: CallHandler): Observable<Response<T>> {
    return next.handle().pipe(
      map(data => ({
        success: true,
        data,
        timestamp: new Date().toISOString(),
      })),
    );
  }
}
에러도 통일했다.
// 공통 에러 필터
@Catch()
export class AllExceptionsFilter implements ExceptionFilter {
  catch(exception: unknown, host: ArgumentsHost) {
    const ctx = host.switchToHttp();
    const response = ctx.getResponse<Response>();

    const status = exception instanceof HttpException
      ? exception.getStatus()
      : HttpStatus.INTERNAL_SERVER_ERROR;

    const message = exception instanceof HttpException
      ? exception.message
      : 'Internal server error';

    response.status(status).json({
      success: false,
      error: {
        statusCode: status,
        message,
        timestamp: new Date().toISOString(),
      },
    });
  }
}
5. 환경별 설정 관리
개발/스테이징/프로덕션 환경마다 설정이 달라서 배포할 때 실수가 잦았다.
// config/configuration.ts
export default () => ({
  database: {
    host: process.env.DB_HOST,
    port: parseInt(process.env.DB_PORT, 10) || 3306,
    username: process.env.DB_USERNAME,
    password: process.env.DB_PASSWORD,
    database: process.env.DB_DATABASE,
  },
  jwt: {
    secret: process.env.JWT_SECRET,
    expiresIn: process.env.JWT_EXPIRES_IN || '7d',
  },
  // ...
});

// app.module.ts
@Module({
  imports: [
    ConfigModule.forRoot({
      load: [configuration],
      validationSchema: Joi.object({
        DB_HOST: Joi.string().required(),
        DB_PORT: Joi.number().default(3306),
        // ...
      }),
    }),
  ],
})
export class AppModule {}
Joi로 환경변수 검증을 추가하니 배포 전에 누락된 설정을 잡을 수 있었다.
마무리
NestJS의 철학은 “정해진 방식대로 하라”다. 처음엔 답답했지만, 프로젝트가 많아지니 이 일관성이 빛을 발했다. 새 프로젝트를 시작해도, 다른 사람이 만든 프로젝트를 봐도, 구조가 익숙하니 금방 파악할 수 있다.
Express 시절에는 프로젝트마다 구조가 달랐다. 지금 생각하면 그게 더 비효율적이었다.
관련 포스트가 4개 있어요.
Unity와 C++로만 읽히던 10년 된 크레인 PLC 프로토콜을, 옛 소스코드를 스펙 삼아 NestJS 게이트웨이로 다시 만든 기록 — 역공학부터 무중단 운영까지

문서 없는 산업용 프로토콜을 AI로 역공학했다
AI를 활용한 웹 스크래핑 자동화 서비스 구현 경험. 데이터 추출부터 실시간 UI 업데이트까지

AI 스크래퍼 서비스 개발기 - 웹 데이터 수집 자동화
모바일 앱 구독 결제 시스템을 RevenueCat으로 구현하면서 겪은 웹훅 이벤트 처리, 구독 상태 관리, 동시 이벤트 버그 해결 경험

RevenueCat으로 인앱결제 구현하기 - 웹훅 이벤트 처리와 동시성 버그 해결
"나중에 짜지 뭐"라던 내가 테스트를 먼저 짜게 된 이유